Product technology introduction
Huaguang Photographic 3D Scanner has a number of patented technologies, adopting new coding calibration technology (leading technology, synchronizing advanced gom advanced technology), which is the core of 3D photogrammetry technology and application, reducing physical distortion and improving the original 3D data scanning accuracy. The heterodyne multi-frequency phase shift grating technique is used to improve the quality of the scanning point cloud. Synchronized with the German gom company, it has a Blu-ray device scanning system, and the camera-type 3D scanner scans data points up to 0.01mm, which is suitable for fine workpiece scanning. The new core design concept uses carbon fiber materials to improve the stability of the product during operation.
Α7000 technical features
1, super high efficiency: a car scan ≤ 2 hours
2, cost-effective: no photogrammetry cooperation, can complete large-scale measurement
3, high stability: the use of carbon fiber parts, strong thermal shock resistance, small thermal deformation coefficient, to ensure higher scanning accuracy and stability
4, anti-collision design protection, multi-mode switching
5, international quality accessories, special heavy duty durable head, console
6, heterodyne multi-frequency phase shift grating: uniform fringe projection, point cloud data accuracy, no noise data
7, 13-step code calibration technology: eliminate lens distortion error and improve scanning accuracy
8, high precision: comprehensive scanning accuracy of ± 0.10mm / 4m, compatible with photogrammetry system, photography makes scanning faster, higher precision, ± 0.04mm / 4m

| Product model | α7000 |
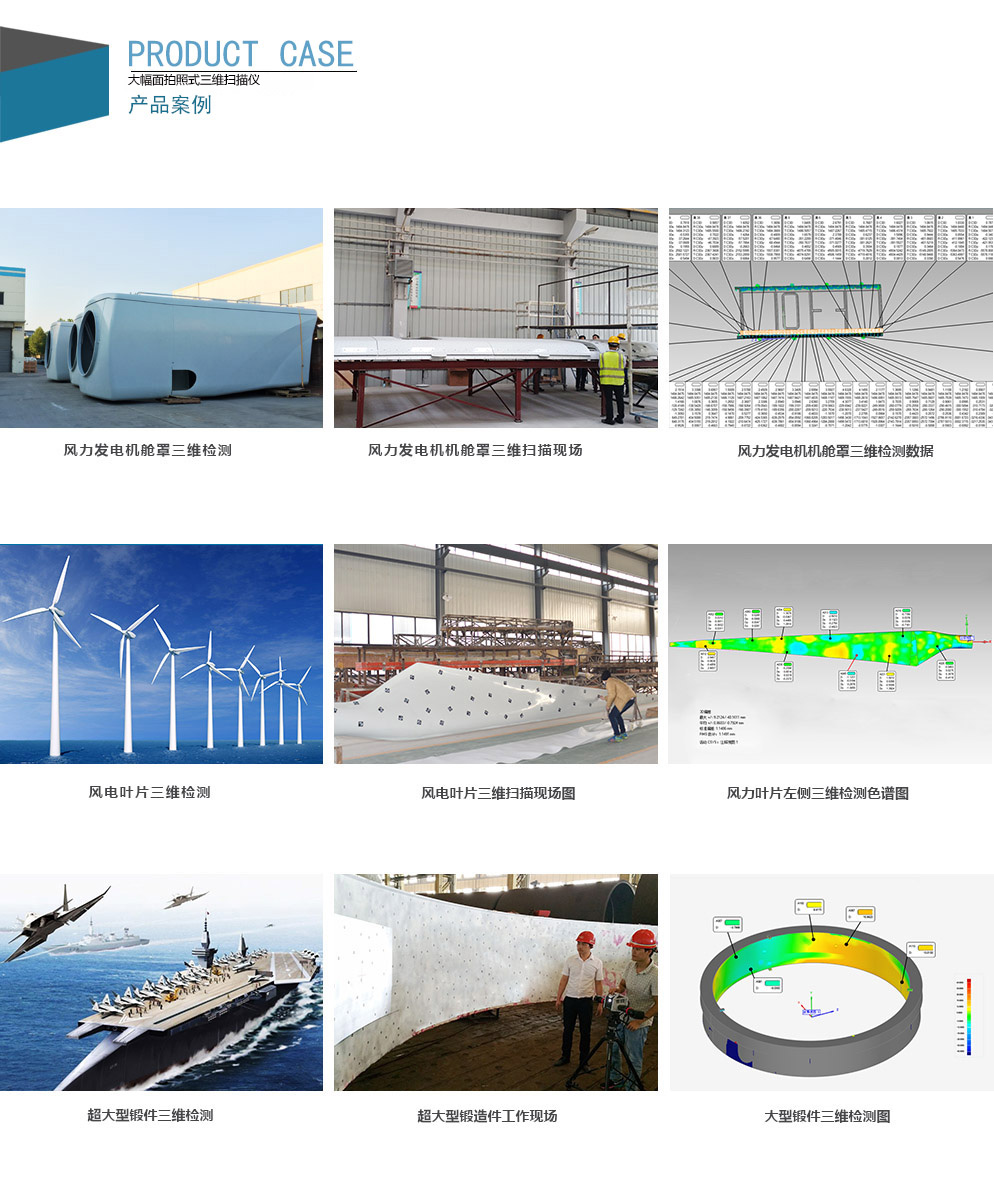
| Field of application | Automotive vehicles and parts, molds, large castings, aircraft parts, boats, large blades, construction machinery, etc. Reverse engineering, three-dimensional inspection |
| scanning method | Non-contact 3D scanning (photographed 3D scanning) |
| scanning method | Microstructured light projection, extrapolation multi-frequency phase shifting technology (optional: blue/white light) |
| Calibration technique | Ring code calibration (13 steps) |
| Single scan range (mm) | Independent mode | 800×600 |
| ○ |
| Adjustment mode | 1200×900 |
| 400×300 |
| 200×150 |
| Single measurement accuracy (mm) | ±0.01 |
| Single-sided scan time (S) | <5,<3 |
| Stitching method | Fully automatic intelligent stitching, manual feature stitching |
| Scannable object range (mm) | 100~15000 |
| Average sampling point distance (mm) | 0.15-0.97 |
| Industrial 3D Photogrammetry (Accuracy) | Support industrial 3D photogrammetric splicing engineering coordinate point file import (≤±0.04mm/4m) |
| Industrial camera resolution pixel | 1.13 million pixels (optional 2 million, 3 million or 5 million pixels) |
| Camera platform | 360 degree free adjustment platform |
| Camera angle | 18 degrees, 27 degrees, 32.5 degrees |
| Industrial lens (mm) | 8,12,16,25, depending on model configuration |
| Calibration unit | Granite/carbon fiber |
| Industrial console | Heavy mobile console |
| Equipment rack | Military carbon fiber material rack |
| Data output format | ASC,STL,PLY, IGES |
| operating system | Windows xp/windows 7/windows 10 32 bit / 64 bit Chinese / English |
| Light source, energy (W) | Standard 100 W halogen lamp; LED 50 W high energy LED (White); high energy lamp (HPL) 250 W halogen lamp |
| Working temperature, power supply | -10℃~50℃、100~240V AC |
| Scanning device | System size (mm) | 360×150×125 |
| Weight(kg) | 3.0 |


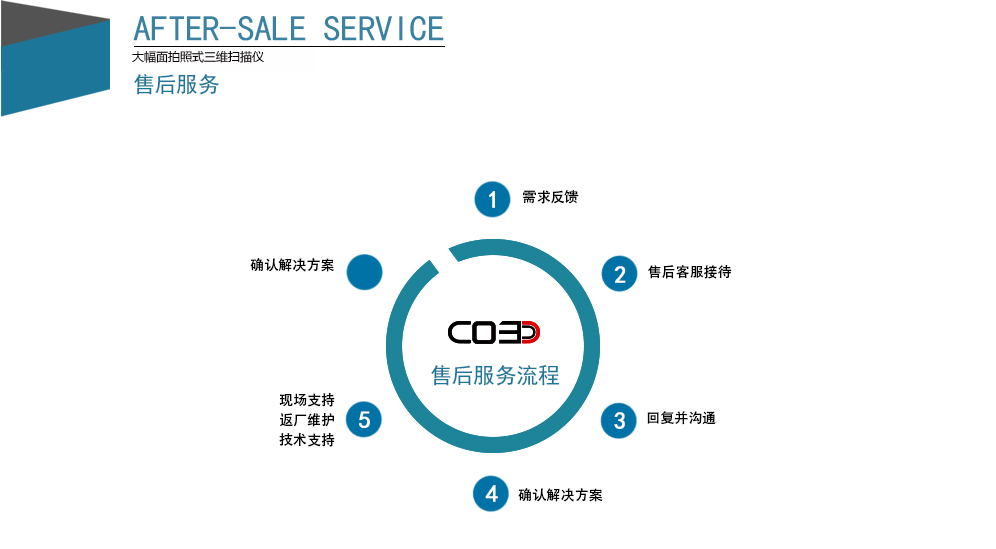
Demand feedback
Customers can make service requests to the company through effective communication methods such as telephone and mail. We will respond within 2 hours and propose solutions within 24 hours.
Equipment Repair
Our company responded to customer questions in the first time after receiving the product failure notice. After the effective communication methods such as telephone and mail can not rule out the equipment failure, and the problem is determined as the cause of the equipment, our company assigns technical personnel to the site for maintenance.
China Optical Three-dimensional Tian Jin Technology Co.,Ltd
Tel: 86-022-59002803 59002807 59002817 59002805
Fax: 86-022-59002805
Tel: 17720035950
Address: 3rd Floor, South Building, Tianda Science and Technology Park, No. 80, Fourth Avenue, Tianjin Economic and Technological Development Zone